Installation and debugging of sensor switch
Nov 14, 2021
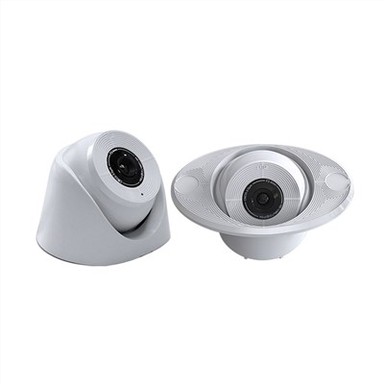
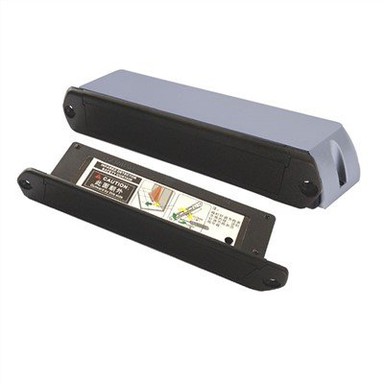
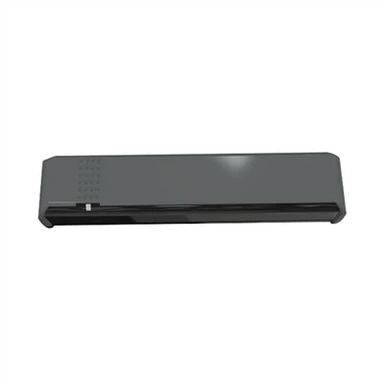
1. Inductive switches can be divided into 86-type inductive switches and ceiling-mounted inductive switches from the appearance.
2. The 86-type sensor switch has the same size as the traditional mechanical wall switch, which can directly replace the original wall switch.
3. The installation methods of ceiling-mounted sensor switches are similar, take BR-306C as an example. Make a round hole with a diameter of 60mm in the ceiling. The four binding posts of L, N, LOUT and NOUT are respectively connected to the live wire, the neutral wire, the live wire and the neutral wire. After connecting the wires, buckle the switch into the ceiling; if there is no ceiling in the installation environment, first lock the switch top box on the top with screws, and then screw the switch into the bottom box.
4. Since the left and right sides of the switch have a larger sensing range than the upper and lower sides, when installing the switch, the positive axis should be as perpendicular as possible to the direction of the person's walking passage, so that the best sensing effect can be achieved.
5. After the switch is installed, power on. When the ambient light is sufficient, the bulb will flash three times. After one minute, the initialization ends and the switch enters the monitoring state. The ambient light is covered with an object to make the switch sense to work. People do not leave and are active. The switch will continue to work; after the person leaves, the switch automatically delays the shutdown of the load.
6. After the switch is installed, power on. When the ambient light is insufficient, the switch will directly enter the monitoring state. If the person does not leave and is active, the switch will continue to work.
7. If you are not satisfied with the delay time or the light value, you can adjust the "TIMER" and "DIMMER" on the back of the 86 wall switch. The former adjusts the delay time and the latter adjusts the light value. When adjusting, use a screwdriver to twist lightly, and don't use too much force. For a ceiling-mounted sensor switch, open the cover to see the adjustment potentiometer.